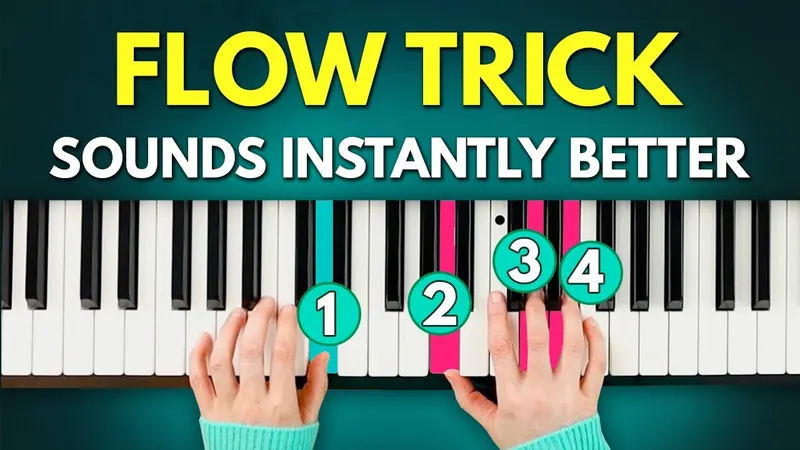
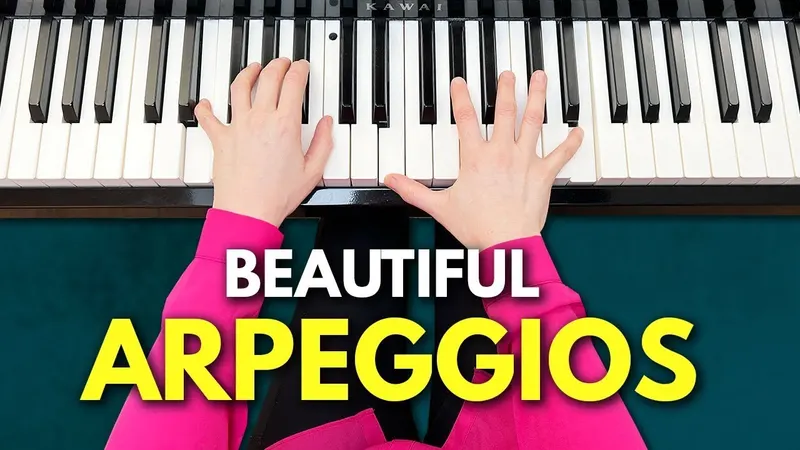
Lesson summary
The chords are A minor, E minor, F major and C major. Your right hand plays them close together: A minor and F major in second inversion, E minor and C major in root position. Your left hand plays root, fifth, octave, fifth. Then you break the right-hand chords into arpeggios, one note with every left-hand note, and finally alternate broken and block chords, on this progression and on F, G, A minor and C.
- Four chords in smooth inversions
- A root–fifth–octave–fifth left-hand pattern
- Right-hand arpeggios that start on the top note
- How to play both hands note on note
- Alternating broken and block chords
- How to use the method on other chords
Before you start
The triads A minor, E minor, F major and C major. An inversion is the same notes in a different order: in second inversion the fifth of the chord is at the bottom. A broken chord (or arpeggio) is a chord played one note after another; a block chord is played all at once.
An acoustic piano or a digital piano.
About 10 to 15 minutes a day. Practise the chord shapes until you know them inside out: then the arpeggios get much easier.
Step-by-step guide
Here's what the video covers, in seven steps. Click a time to jump straight to that part.
-
The chords in smooth inversions
The chords are A minor, E minor, F major and C major. In root position they sound a bit plain, so play A minor in second inversion (E–A–C), E minor in root position (E–G–B), F major in second inversion (C–F–A) and C major in root position (C–E–G). Watch my hand in the video for the little "open, close" movement, then loop the chords slowly until they feel safe.
AmEmFC
-
The left-hand pattern
Your left hand plays root, fifth, octave and back to the fifth. For A minor that's A–E–A–E, for E minor E–B–E–B, for F major F–C–F–C and for C major C–G–C–G. Practise it a few times in a row until you feel confident.
-
Both hands with block chords
Your right hand plays the chords, your left hand plays the pattern. Start with the right hand on A minor in second inversion and your left pinky on the A. Then E minor in root position, F major in second inversion and C major in root position. Keep going until it feels really relaxed.
-
Break the chords into arpeggios
Now your right hand plays each chord as an arpeggio. Start with the top note, played with your pinky, then play all three notes upward from the bottom to the top. On C major that's pinky, then thumb, middle finger and pinky again. Do the same on every chord, and repeat it until you feel safe.
-
Both hands, note on note
Put both hands together, with a count-in of "3 and 4 and". The secret for the coordination: every time your left hand plays a note, your right hand plays a note too. Practise slowly first, then a little faster. What matters most is that you know the chord shapes inside out.
-
Alternate broken and block chords
For a calm flow, like breathing in and out, play a broken chord on A minor, a block chord on E minor, a broken chord on F major and a block chord on C major. Practise it with the right hand first, then with both hands, starting with the broken chord.
-
Try it on other chords
The method works on any chord progression. Try F major, G major, A minor and C major, all in second inversion: C–F–A, D–G–B, E–A–C and G–C–E. Then alternate broken and block chords again.
FGAmC
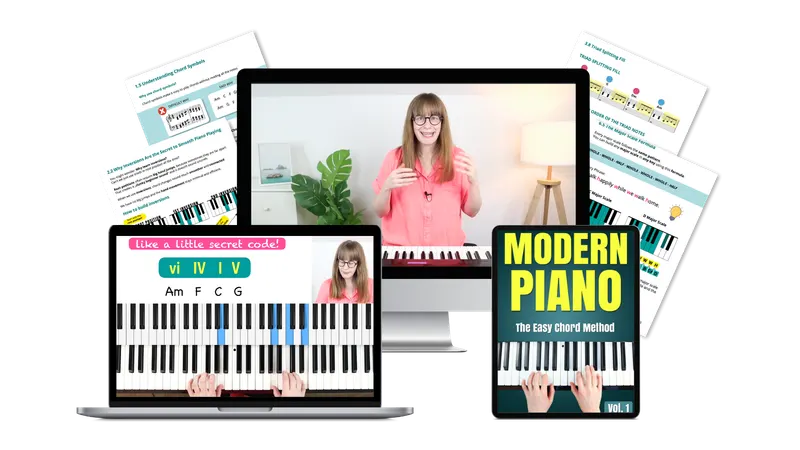 Want to play freely with chords?Modern Piano 1In my course Modern Piano 1 I teach you a chord-based approach with a clear method, so you can play piano freely and beautifully, step by step. Especially if you want to go from sight-reading to really understanding chords.Learn more about the course →
Full transcript
Prefer to read along? Here's everything I say in the lesson. Click a time to jump to that moment in the video.
Video transcript · about 1,500 words
Introduction and what you'll learn
Hello and welcome to this video. Today I will show you how to make your piano playing flow with broken chords. So instead of just playing simple chords the usual way, you will learn how to break them apart, so that they sound soft, flowing and full of feeling. This small change can make a big difference, and it's a beautiful step toward playing freely and emotionally.
If you are interested in learning piano with chords, make sure to subscribe to the channel and give this video a little thumbs up. Let's jump right in.
The chord progression (A minor, E minor, F major, C major)
We are using A minor, E minor, F major and C major.
Right hand in root position
And we will start with the right hand in root position. So we play first the A minor, then we go to the E minor, then we go to the F major, and then to the C major.
Right-hand inversions
But root position often sounds a bit plain. So we will use inversions to make the chords sound smoother. For A minor, we will use the second inversion. Then E minor stays in root position. F major we will also play in second inversion. And C major: there we go back to root position again. So we are playing second inversion, root position, second inversion, root position.
Hand trick: open–close
And here's a little hand trick. When you look at my hand, then you see: open, close, open, close. Try it slowly like this, and then loop the pattern until it feels safe.
Left-hand pattern (root–fifth–octave–fifth)
For the left hand we will use a simple pattern. We will start with the root. Then we go to the fifth. Then we go to the octave, and then back to the fifth. So for A minor we play A, E, A, back to E. For E minor we play E, B, E, B. For F major we play F, C, F, C. And for C major, we play C, G, C, G.
And we will practise this a few times in a row, until you really feel confident with this, right? So you start on A minor, then you go to E minor, then start from the F, and then start from the C, and jump back to A minor. Okay.
Practise both hands together
And by the way, you can also download the free sheet music for this tutorial. You will find the link just below in the video description. Now, let's practise both hands together. The right hand plays the chords and the left hand plays the pattern. So, prepare your hands. That means we are starting with the right hand on A minor, second inversion, and with the left hand with the pinky on the A.
Now we go to E minor, root position. F major, second inversion, and C major in root position. And again: A minor, second inversion. E minor, root position. Then F major, second inversion, and C major, root position. Okay. All right. So, keep going with this until it feels really relaxed.
Adding flow with arpeggios
And now, let's add some nice-sounding arpeggios. Now we make it even more emotional and expressive. Instead of playing the full chords, we will break the chords into arpeggios in the right hand. We will start with A minor in the second inversion. Here you start with the top note, with the pinky. Then you play the other notes upward. Okay? One after another, from the bottom to the top.
And this we will repeat for each chord. So on A minor we start at the top, and then from the bottom to the top, all three notes. Okay. On E minor the same. Instead of playing all three together, we start with the pinky, and then from the bottom to the top we play all three notes of the triad up.
Then the next one, the F major. We prepare our shape with the fingers. Okay. And now we start with the pinky, then with the thumb, and we are going all three notes up again. And on C major again we start with the pinky, and then we play with the thumb, middle finger and pinky again. So the pattern goes like this.
Practise with me together. E minor, F major and C major. And do this a few times in a row, until you really feel safe.
Both hands with arpeggios
And then we can put both hands together. So we prepare our hands again, and then make sure that you have the right notes here. And then we start: 3 and 4 and 1 and 2 and 3 and 4 and 1 and 2 and 3 and 4 and. Doesn't this sound beautiful? E minor, F major and C major. And you can go on and go on. And I think this already sounds really nice.
Coordination tip: note on note
And for the coordination between the two hands, just think like this: every time the left hand plays a note, the right hand plays a note too. Okay? So we are always playing one note at the same time in both hands. Okay. So it's really note on note. Practise this slowly first, and then you can make it a little bit faster.
But the most important thing here is that you really practised the shapes first, like this. This is the basic. This is the foundation. You really should know it inside out. And then it will be much easier to play those arpeggios without getting confused.
Okay. For many people, it's a dream to just sit at the piano and play freely and finally get fluid with chords and inversions. But often it's hard to know where to start. And in my online course, you will get a clear method and you will learn a chord-based approach. So, make sure to check this out. You will find the link in the video description.
Bonus tip: alternate broken and block chords
Now, here comes a little bonus tip. To keep things interesting, let's now alternate like this. We will start with the broken chord on A minor, like this. And then the next one, this is a block chord. Then broken chord again, and block chord. Okay. All right. And this is really nice. 1 and 2 and 3 and 4 and 1 and 2 and 3 and 4. And this you can practise.
Now on the E minor we play the block chord, and on the F major broken chord again, and block chord. And I think this gives it a calm and peaceful flow, like breathing in and out.
Broken and block chords with both hands
So try this with both hands together. Now make sure that you are in the right position with both hands. And then we will start: 3 and 4. And we start with the broken chord first. And now the block chord. Broken chord. And block chord. And a second time. Broken chord. Block chord. Broken chord, block chord.
Okay. All right. And if you feel safe, you can do it a little bit faster. If you haven't downloaded the free sheet music yet, just click the link in the video description below. I'm sure you will love it.
Apply it to new progressions (F–G–Am–C)
And now, if you want, you can try to do this with other chords. I will now explain how you can transfer this technique to any other chord progression, because you can use the exact same method with other chords too. Let's try the following chords. We will start with F major in second inversion. Then we go to G major in second inversion too. Then we go to A minor in second inversion. And then to C major in second inversion.
So every time we will play the second inversion. Now F major, G major, A minor and C major. And then we can apply the same principle on these chords too. So we start with a broken chord. Block chord. Broken chord, block chord, broken chord, block chord, broken chord, and block chord again.
Okay. And I think this is a really nice experience, when you realise, okay, playing with chords is possible also without sheet music, because when you once understand the method behind it, then you can try really different things, and this will give you so much freedom on the piano.
About my course Modern Piano 1
And if you want to go even deeper into chord-based playing, take a look at my online course, Modern Piano One. It's all about learning to play piano freely and beautifully in a structured way. Especially if you want to go from just sight-reading to really understanding and playing chords with confidence, this is the right course for you. You will find the link in the video description below.
Final words and next video
So, I think you did amazing today. And let me know in the comments if you made it all the way to the end. And if you would like to learn a beautiful arpeggio melody trick, I recommend watching this video next. Thank you very much for joining me today, and see you in the next tutorial.
Questions about this lesson
What is a broken chord?
A chord whose notes you play one after another instead of all together. In this lesson your right hand starts on the top note, then plays the chord from the bottom to the top. A block chord is the opposite: all notes at once.
Why use inversions?
In root position these chords sound a bit plain and your hand has to jump. With A minor and F major in second inversion, the chords sit close together, so the changes sound smoother and your hand hardly moves.
How do I coordinate both hands?
Think "note on note": every time your left hand plays a note, your right hand plays one too. Practise slowly at first, and make sure you know the chord shapes well before you break them up.
Does this work with other chords?
Yes, you can use exactly the same method on any chord progression. In the video I try it on F major, G major, A minor and C major, all in second inversion.